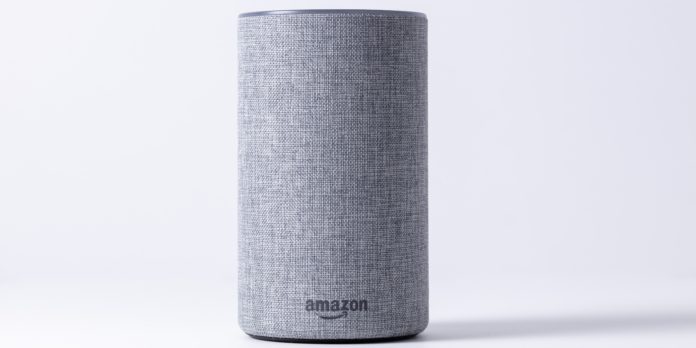
The Amazon Echo, formerly known as the Doppler, Project D is a smart speaker developed by Amazon Corporation. The device is a 24-cm cylindrical speaker with a built-in microphone in the form of a seven-microphone array.
The device is voice-controlled and responds to the name “Alexa”. You can change this “wake-up word” to “Amazon” or to “Echo”.
Immediately after saying this word, the user’s speech is recorded and sent to the cloud for analysis and response, using the power of the Amazon Alexa project, Amazon’s personal assistant.
This device includes in its functionality the possibility of limited speech interaction with the user, playing music, arranging task lists, setting alarm clocks, broadcasting podcasts, playing audiobooks, and reading the weather forecast, traffic information, etc.
It can also control several smart devices, representing the central hub of a home automation system.
How to explain why you need parental control on Amazon Echo
From the above, it becomes clear that this device is an extremely convenient way to control smart home appliances. Why do you need a remote control and buttons when you can give a command by voice, it’s much more convenient.
The only problem with such a device is that it cannot be hidden from children. No user wants his child to accidentally violate the settings of devices in the house or turn on and off expensive equipment for fun.
Therefore, in this case, Amazon has provided a number of settings that limit the use of the device.
How to set parental control on Amazon Echo with Alexa app
All adults like to communicate with the voice assistant. If even an adult enjoys it, imagine how much kids want to communicate with Alexa.
That’s why it’s so important to know how to keep kids safe when using Amazon products. If you have an Amazon Echo, here’s how to set parental controls on Alexa:
- First, launch the Alexa app on your phone.
- If you haven’t logged in, do so before proceeding.
- After logging in, tap the “Devices” button. This house-shaped icon is located in the lower-right corner of the screen.
- Select your Alexa device from the list of available devices.
- After selecting your device, on the next screen, scroll down and turn on the “FreeTime” feature. You’ll know that FreeTime is enabled when the slider turns blue.
- Next, click “Set up Amazon FreeTime”.
- You’ll need to enter your child’s information. Do this and click “Add Child”.
- Once you have finished entering the information, check it and if everything is OK, click on “Continue” and log in with your Amazon password. If you want to add more than one child, click “Add Child” under “Continue” and repeat the above process.
- Next, tap “Login”. You’ll need to repeat your password when prompted with two-factor authentication.
- Click “I Agree” on the “Parental Consent” page, having read the terms of the agreement beforehand.
- Toggle the switch on the Alexa services you want to control. You can enable or disable calls and messaging, the Alexa drop in feature, or turn on the Explicit Filter for music.
- Click the “Continue” button to complete the process. You can then exit the FreeTime settings by clicking on the “X” in the upper right corner.
If you want to set up parental controls on multiple devices, then you’ll have to repeat the following steps for each device for which you want to set up parental controls.
Note that parental controls on Alexa can be controlled via FreeTime. This is an app feature that can be enabled on any Echo device, including the Echo Dot Kids Edition.
If you use FreeTime it allows you to control what your kids can access and how long they can have it. You can set what content they can listen to or watch. You can also prohibit them from buying anything without your permission.
If you want more information about FreeTime settings, go to parents.amazon.com. To do this, after following the link, log in with your password to see which FreeTime-enabled devices are listed.
From here you can set time limits and content allowed. You can also change the age filter and more.


