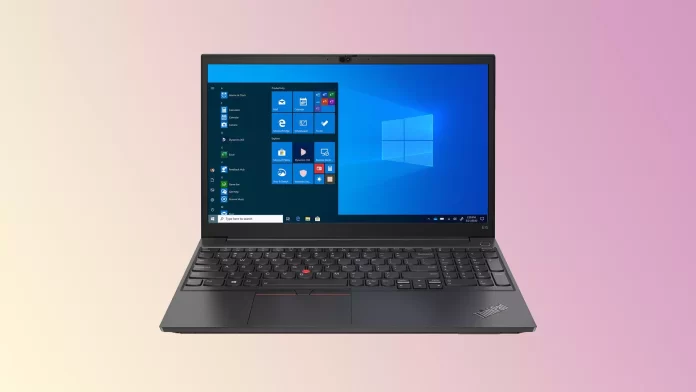
A screenshot is probably the easiest thing you can do on your computer. For this purpose, the manufacturers have even allocated a special button that makes it very easy for you to take a screenshot. It is called PrtSc, and Lenovo Thinkpad also has it.
If your laptop is running Windows, you won’t have trouble figuring out how to shoot the screen. In addition to using the special key on your keyboard, you can also use the Snipping Tool. This is a stock Windows program.
Moreover, you can always install a third-party screenshot app. They often even have a built-in editor where you can add text, arrows, and other effects.
So let’s take a closer look at how you can screenshot on Lenovo Thinkpad.
How to take a screenshot on Lenovo Thinkpad
To begin with, let’s look at the classic situation when you need to take a picture of the entire screen on your Lenovo Thinkpad. Everything is straightforward. So, to take a screenshot, follow these steps:
- Open the screen area you want to screenshot.
- Press the PrtSc key.
- After that, the image is automatically saved to the laptop’s memory. Now you have to choose where to save it.
From this point on, you have several ways to go. It depends on what you want to do with the image.
- If you want to edit it, you can open Paint on your laptop, press Ctrl + V, make the necessary changes and save the screenshot.
- If you don’t know how to find it, click on the Start button and enter Paint in the search field.
- Then click on it to launch the program.

It doesn’t hurt to save a screenshot, even if you have never worked with graphics editors. There is nothing complicated here.
It remains to save the image in a suitable format. This is usually in PNG format. However, you can also choose JPG. To do this, press Ctrl + S.
Finally, a window pops up where you have to choose where to store the file and its format and name. Specify all these parameters and save the picture.
Now you can use the screenshot and send it to whomever you want.
How to take a window screenshot on Lenovo Thinkpad
The principle is the same as in the previous case. There will be precisely one difference. You need to press PrtScr simultaneously with the Alt key. This combination is responsible for the screenshot of a single window.
If several windows are open simultaneously, the one at the top will be captured in the screenshot. So be careful when you’re about to take it. Before pressuring this key combination, ensure you’ve selected the right window.
Next, you can use Paint in the same way as described above. Alternatively, you can directly paste the screenshot into the document you want or send it via messenger, email, etc.
How to screenshot using Snipping Tool on Windows 11
You can use the Snipping Tool to take screenshots of an open window, a rectangular area, a free-form area, or the entire screen. If you want to use this method, you can follow these steps:
- Go to the Start menu and find Snipping Tool using the search field.
- Once you start the program, click New. The screen may be gray until you select a mode and highlight the area on the screen.

- Finally, you will see your screenshot in the editor.
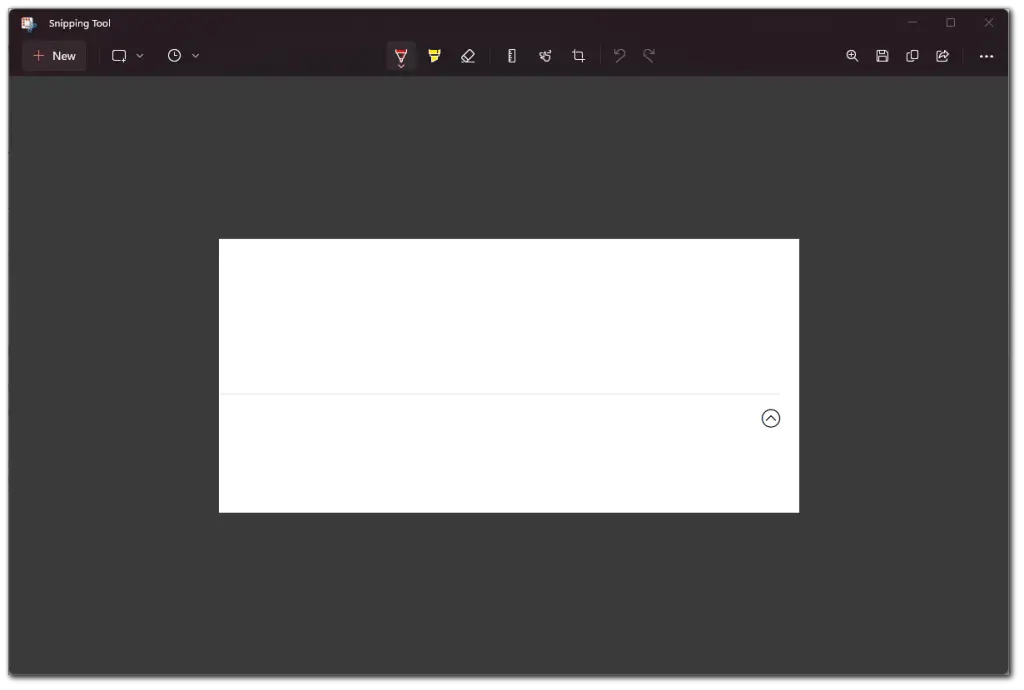
Now, you can make some changes to an image and save it.
How to take a screenshot using the third-party app
In general, there are a vast number of third-party screenshot apps. However, I will tell you about the one I use myself.
It’s called Greenshot, and it’s free, which really makes me happy.
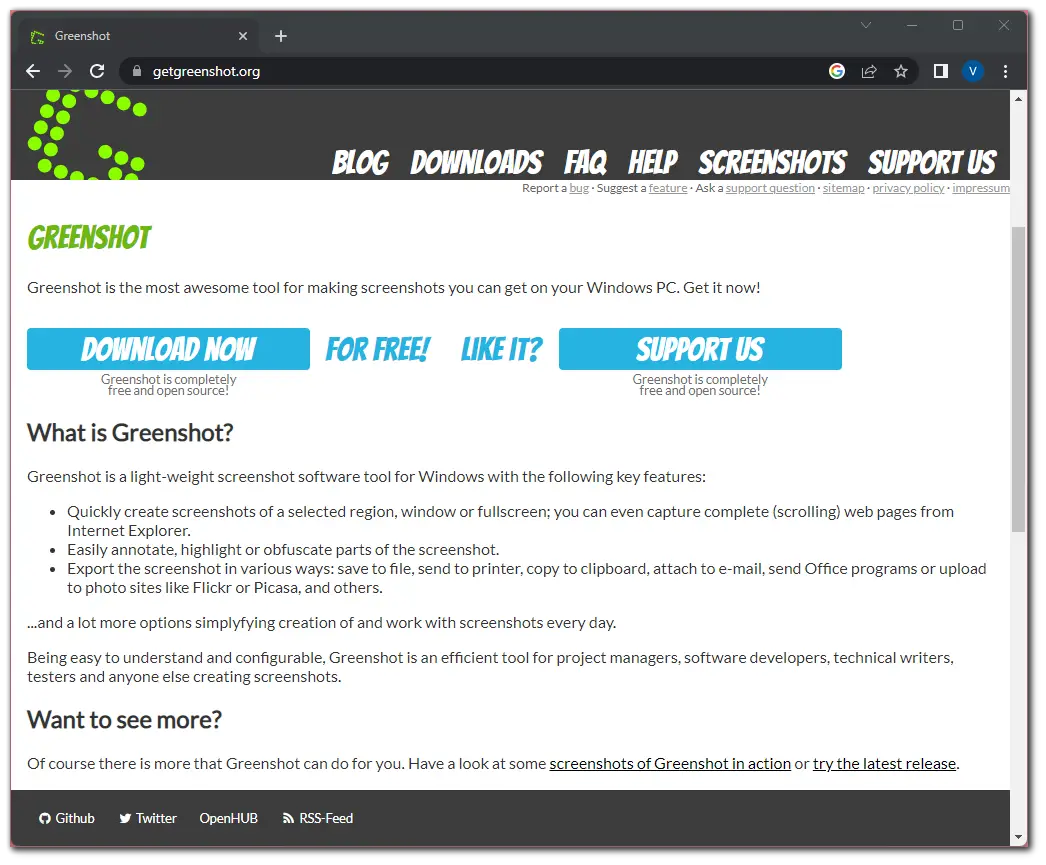
The shooting screen process is almost the same here. There are three modes altogether:
- To screenshot the entire screen, press Ctrl + PrtSc.
- To screenshot the one window, press Alt + PrtSc.
- To select the area on the screen and screenshot it, press PrtSc and highlight it using the crosshair.
Once you take a screenshot, you will have a list of options on your screen. There you can select to save your screenshot, copy it to the clipboard, send it to the editor, etc.
I really like the screenshot editor. It has some cool features like adding shadows and textures, drawing, adding arrows, blurring the image, and more. That’s why I recommend using this program.
Alternatively, you can use Lightshot. It is almost identical to Greenshot and has similar features. Eventually, it all depends on your tastes.

