Most people playing games often want to share some game moments or show their skills. For players on the Nintendo Switch console, this is also a very relevant desire. You had some exciting moment in the game or you defeated a difficult boss and you really want to share this moment with your friends. But how to do it – you don’t know, and in this article, we will tell the ways of recording the screen, which is available for Nintendo Switch.
What are the main recording methods for Nintendo Switch
Nintendo Switch players have two basic options for screen recording. The first option doesn’t require any aids and is implemented in the console. Nintendo offers the recording of short 30-second clips at 1280 × 720 resolution and 30 frames per second. The second method requires a capture card.
To record such a video you need to perform the following actions on your console
- First, you need to enter the game, the scene from which you want to record
- On the left Joycon under the directional pad, you need to find the square button {Capture}
- To save the last 30 seconds of the gameplay press and hold down the {Capture} button
- To take a screenshot then press the capture button once
- All your photos and recordings will be saved on a MicroSD card which you can transfer to your PC or phone
How to record a video longer than 30 seconds on a Nintendo Switch
It’s clear that 30-second clips are too short, and to record the completion of even one level you would have to press the Capture button dozens of times, which is very inconvenient. Of course, you can use a movie-making program to combine small clips into one, but it will take a lot of time and effort. You can get rid of all this hassle with a capture card that will directly record or even broadcast gameplay to your PC.
What does it take to record a video clip with a capture card
First, let’s understand what a capture card is. A capture card is a device that delivers a video stream from your console to a device that will record or stream it in the desired resolution and frame rate. It should be noted that the capture card uses an HDMI connector, which the Switch Lite doesn’t have, so it’s not possible to record large videos on this console. All in all, you will need to record:
- Capture card (now on the market you can find many different models, but many recommend “Card Elgato HD60 S + Capture” or “AverMedia Live Gamer Portable 2 Plus“)
- A male-to-male USB 3.0 cord
- Two HDMI cables
- Your PC, which will be a video receiver
- Screen recording software
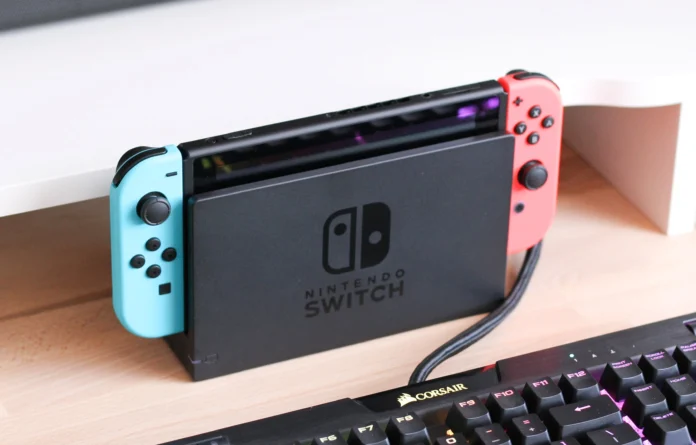
- Nintendo Switch Dock Set
- And of course your Nintendo Switch
If you have all of these components, then you can already start recording content.
How to record the process from your Nintendo Switch screen
The process of connecting a capture card to your Nintendo Switch and PC isn’t as complicated as it may seem at first sight, and this guide will give you more information about it:
- Install the software for the capture card, you can find it on the card company’s website.
- Usually, the card will have an HDMI input {IN} and {OUT}, so we connect our Dock Set through the HDMI input to {IN}
- Plug another HDMI cable into the {OUT} connector on the capture card, and connect the other end to your monitor or TV
- Connect the capture card to your PC using a male-to-male USB 3.0 cord
- After connecting, the PC should immediately detect the connected capture card
- Run the capture card software and configure the settings (usually these programs have screen instructions to help you understand the settings)
- Start broadcasting in the resolution of your choice and at the frame rate you want
So a capture card, which will cost you about a hundred dollars, will make it easy for you to record and broadcast the screen of your Nintendo Switch and pave the way to becoming a streamer.


