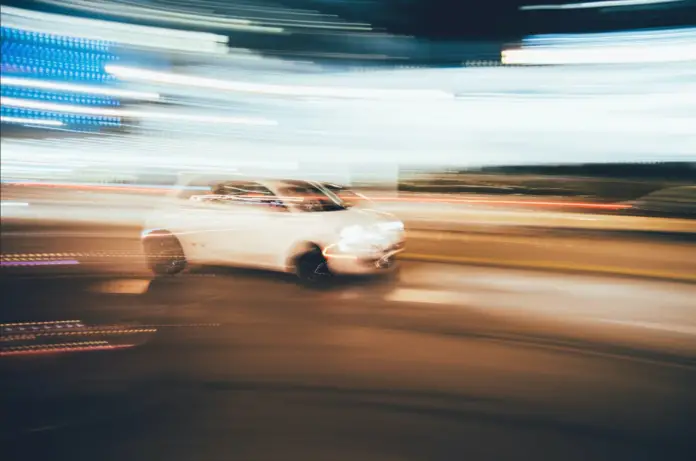
Over the past few decades, technological progress in cameras has greatly improved our pictures. However, they can still turn out blurry or distorted depending on lighting, motion, and other factors.
Unfocused photos are becoming more and more popular for some reason, but without the ever so beloved filters like Instagram, they’re usually just annoying. For example, you’ve tried to take a one-of-a-kind family photo and found that the image is blurry and shaky.
There are programs that can improve the sharpness of photos. Although in most cases you can never make a sharp and beautiful copy of a blurry photo or video, you can use these tools to restore important details and sharpen things back to a slightly better quality. Of course, you can’t expect to edit a badly out-of-focus photo into a magazine cover, but you can get amazing results using these tools in the style of the CSI TV show.
In this article, we are going to tell you how to make blurry photos to be better quality in different ways.
How to make blurry photos to be better quality on mobile devices
If you want to make your blurry photos to be better quality, you can easily do it by using your smartphone or tablet on Android or iOS. There are some third-party applications that allow you to fix blurry images.
The first one is Adobe Lightroom. If you want to use this app to fix your blurry photo, you have to follow these steps:
- First of all, download and install the app from Google Play Store or Apple’s App Store on your mobile device;
- Then, open Adobe Lightroom and upload the image you want to edit;
- After that, select “Presets” at the bottom;
- Tap “Sharpening” and select the level of sharpening depending on how blurry your image is;
- Finally, tap on the checkmark in the top right corner of the screen to save the image you’ve edited.
The second app is Snapseed that is also available on both platforms. If you want to use Snapseed to fix your blurry photo, you have to follow these steps:
- First of all, download and install the app from Google Play Store or Apple’s App Store on your mobile device;
- Then, open Snapseed and upload the image you want to edit;
- After that, select “Tools” at the bottom of the screen;
- Tap “Details” in the editing menu;
- Tap the selections icon at the bottom of the screen;
- Scroll and tap “Sharpening”;
- Finally, use the slider to make adjustments to the photo and save it.
Once you’ve completed these steps, you can download your photo to your device without watermarks and for free.
How to make blurry photos to be better quality on a Mac
If you want to make your blurry photos to be better quality on a Mac, you have to follow these steps:
- First of all, open the “Photos” app on your Mac;
- Then, choose the photo you want to edit and click “Edit” in the top right corner;
- After that, click “Sharpen” in the right menu and use the slider to change the sharpness of your image;
- Finally, click “Done” to finish editing the photo and save it.
Once you’ve completed these steps, the photo will appear in the “Photos” app.
How to make blurry photos to be better quality using Paint.NET
If you want to make blurry photos to be better quality on your desktop using Paint.NET, you have to follow these steps:
- First of all, download and install Paint.NET on your desktop;
- Then, open the app and upload the photo you want to edit;
- Choose “Effects”, “Photo” and “Sharpen”;
- After that, us the slider to change the sharpness of the photo and click “OK” to save the level of sharpness;
- Finally, save the photo.


