Wireless devices are very common today. It’s much more convenient than constant cable management.
Wireless headphones, speakers, gamepads, keyboards, cameras, and more. The wireless market today offers you any gadget for your needs.
How to fix AirPods if they don’t connect to MacBook
When it comes to wireless headphones, Apple is one of the most popular companies with their AirPods.
They are very smart and technologically advanced devices that can provide you with good sound, excellent build quality, and ease of use.
Apple’s eco-system is built in such a way that you can connect different devices with each other as conveniently as possible. You can also connect your AirPods to any other Apple device. For example, you can use your earphones with your MacBook.
How to pair AirPods to a MacBook
It’s pretty easy to do. Since all of Apple’s devices have a common ecosystem and compatibility between them, all you need to do is open your AirPods case next to your MacBook and you should see a message on it telling you that the headphones are connected.
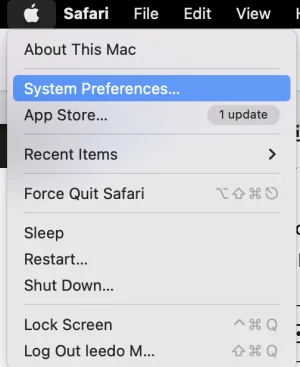
However, in some cases, this may not happen. Then you can resort to manually connecting your earphones to the laptop. To do this, you first need to turn on Bluetooth on your MacBook. To do this :
- Open System Preferences
- Click Bluetooth
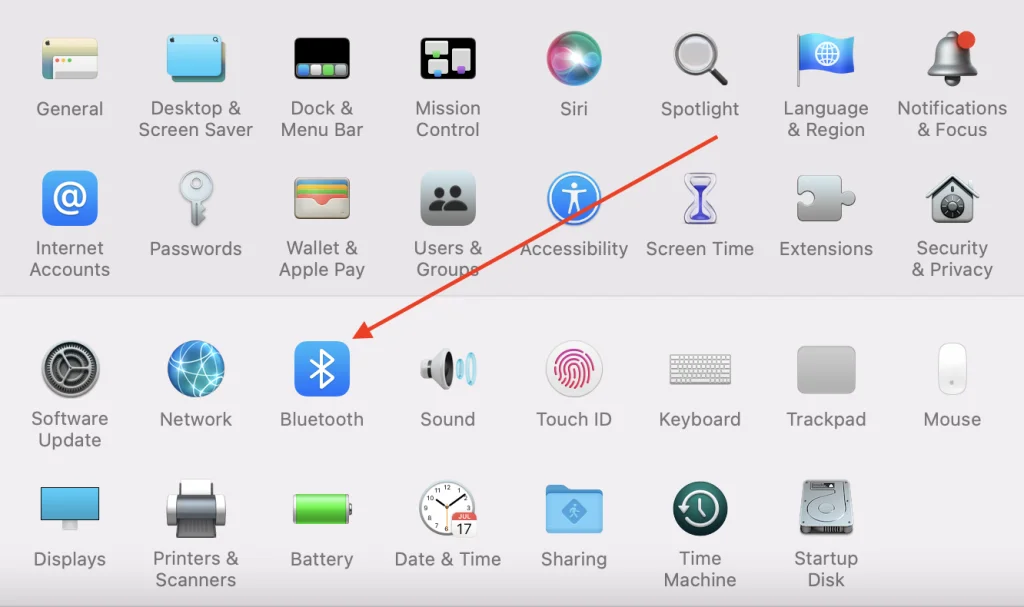
- Click the Enable Bluetooth button
- Bluetooth will be on and flashing “Bluetooth ON” on the screen
After that, you need to make sure that your AirPods are in pairing mode and can be connected to the MacBook. To put them in pairing mode, you need to:
- Place the Airpods in the charging case
- Open the lid of the case
- While the lid is open, press and hold the button on the back of the case
- When the status light starts flashing white, your AirPods are in Bluetooth pairing mode
You are then ready to manually connect your AirPods to your MacBook. To do this, you will need to do the following :
- Open the AirPods charging case
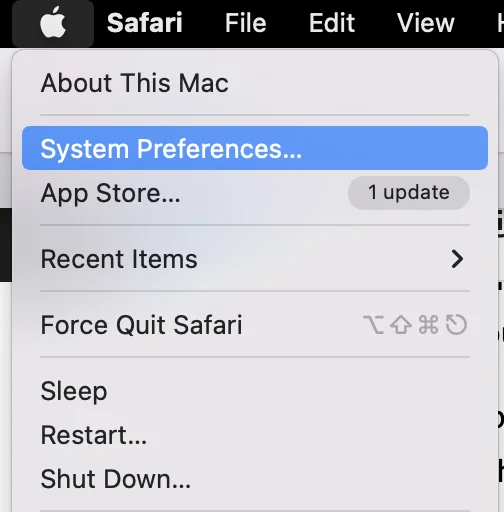
- Then on the MacBook, open System Preferences
- Click on Bluetooth
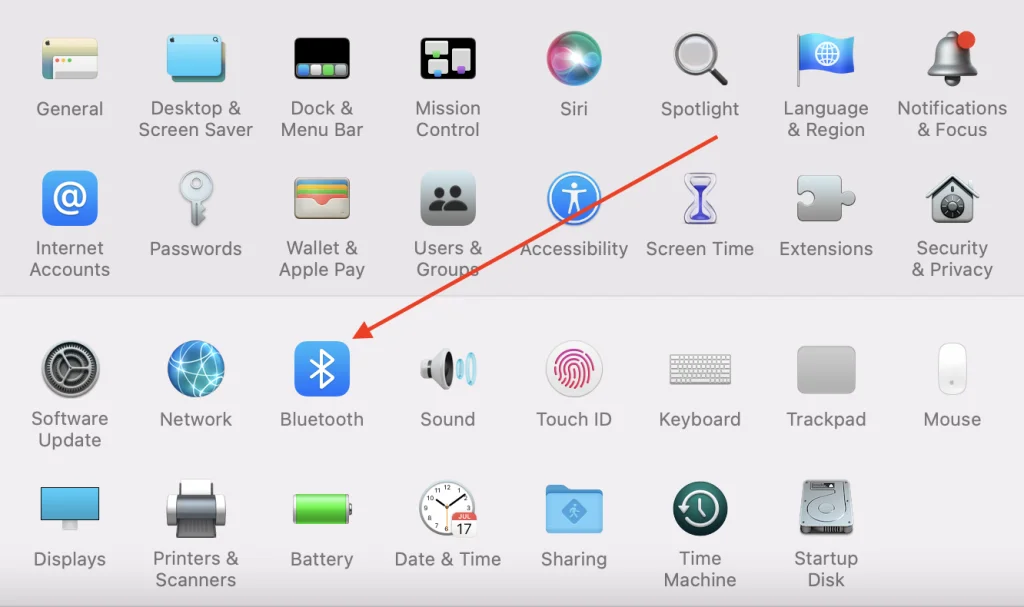
- Double-click on AirPods in the list of nearby devices
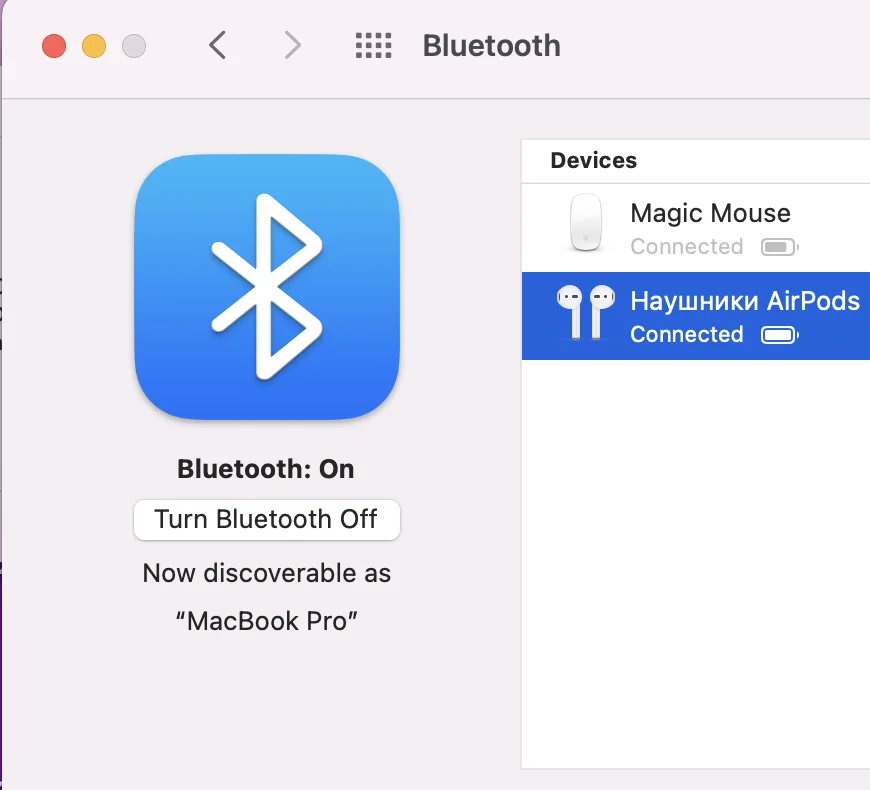
Then all you have to do is wait for them to connect and then select AirPods as the audio output device. If you had your laptop connected to a different device, you may need to manually change the audio output device. To do this:
- Open System Preferences
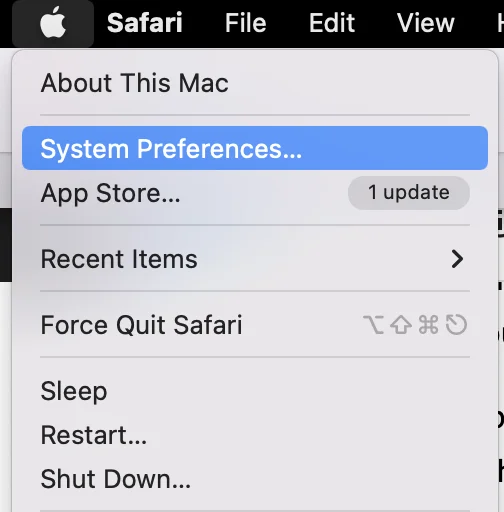
- Select Sound
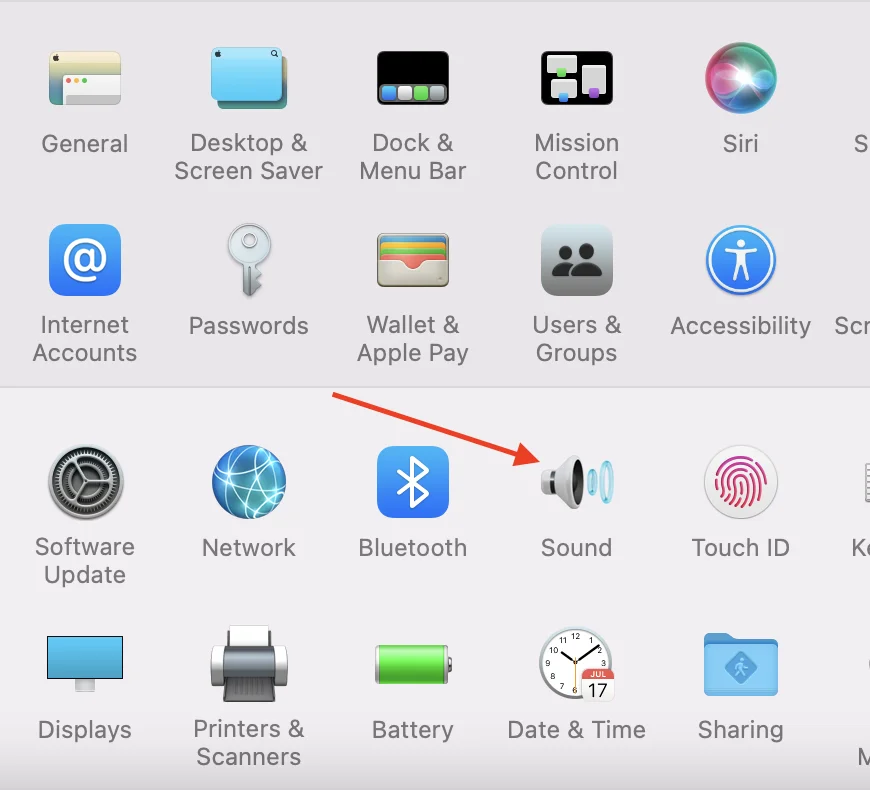
- Then select the Output tab

- Select your AirPods as the output device.
What to do if AirPods won’t connect to your MacBook
If your earphones won’t connect to your laptop in any way, there are several ways to solve the problem. There is no guarantee which way will help your situation. That’s why it’s a good idea to try all of the available options one at a time.
There are some of the most popular solutions when your AirPods won’t join your MacBook:
Check to see if your MacBook is up to date.
Airpods will only work with computers that have the latest version of macOS Sierra. If your device hasn’t been updated in a while, this could be a problem.
- To check and update your software, click the Apple logo in the upper-left corner of your screen and select “About This Mac“
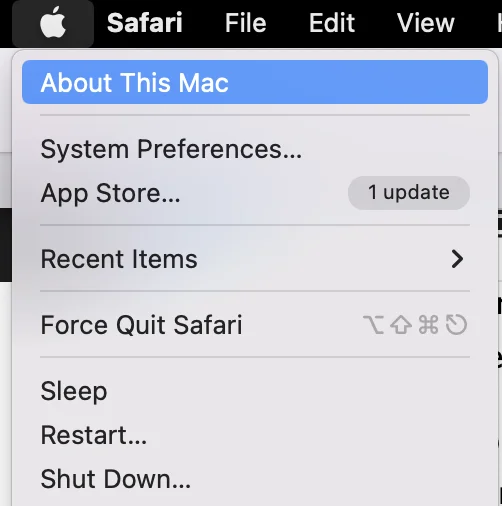
- A pop-up window will inform you of the current version of your Mac OS.
- If you see that you need to update, use the Software Update button to do so. This will allow you to quickly update your computer.
Restart your MacBook
Many problems can also be caused by conflicts in applications. A simple restart is often enough to fix this. This will restart all programs and applications and eliminate the conflict. For this you need to:
- Click on the Apple icon in the upper left corner of the screen
- Then select Restart in the dropdown menu
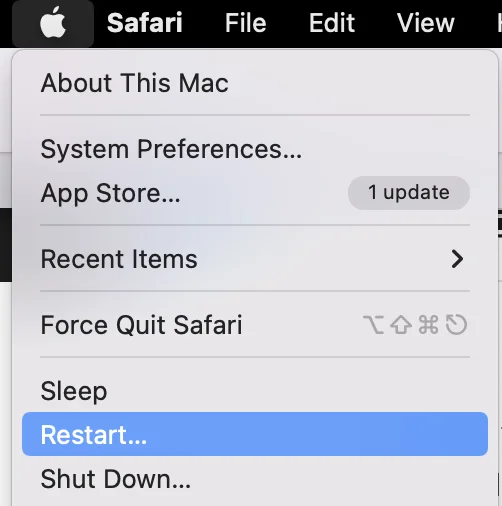
- A confirmation message will appear in the center of the screen. Select Restart again
- Your laptop will restart on its own, this may take up to a few minutes
Try to forget the AirPods device on your MacBook
The problem may have occurred when pairing your computer and headphones. If this is the case, it may help if you remove the headphones from the list of attached devices and reattach them manually using the instructions above. To do this you will need to:
- Open System Settings
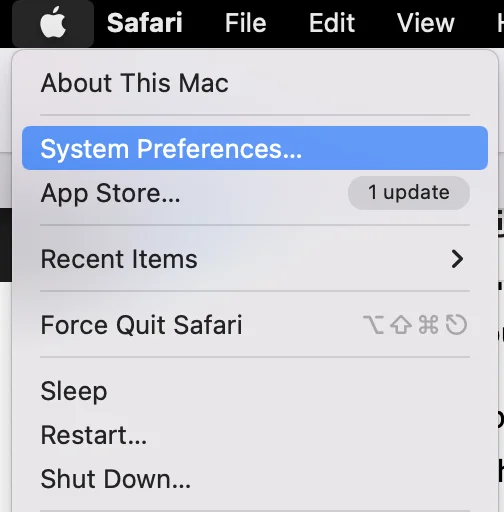
- Tap Bluetooth
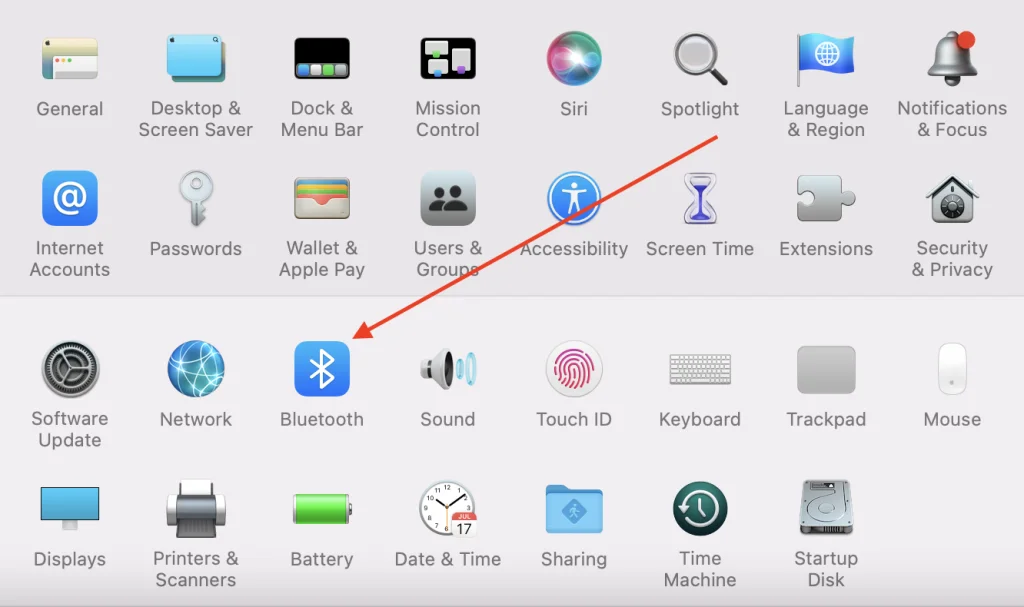
- Find your AirPods in the list and tap them once
- Then click on the round “X” button

- Confirm your action by tapping Remove
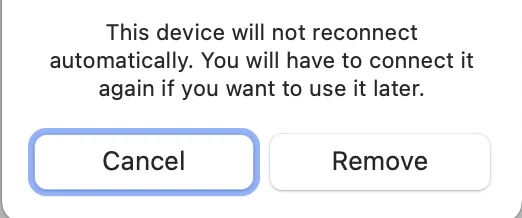
- Wait a few minutes and try reconnecting the headphones to the MacBook.
Try to check if your AirPods are charged
The problem may be due to insufficient charge. Try putting your headphones in their charging case and connecting them to the charger by wire. Wait a while and then try reattaching the headphones. Sometimes this method works.
Try to reset AirPods
This may fix some minor problems and software bugs. For example, connectivity problems or a problem with fast battery discharge.
To do this you will need to:
- Press and hold the setup button on the back of the charging case
- Release the setting button when the status light flashes amber several times and then flashes white
- Your AirPods have been reset
- Connect your AirPods to the device as you did when you first set it up
By following these simple tips, you will most likely be able to fix your problem connecting your device to your MacBook.
How to check the firmware version on your AirPods
If you decide that you should check the firmware version of your iPods, it’s actually quite easy to do. It will take you literally a few seconds to do it:
- Open the Control Menu on your iPhone. To do this you need to:
- If you have an iPhone 10 or higher, swipe down from the top right corner.
- If you have an iPhone 8 or lower, swipe up from the bottom.
- After that, tap the Bluetooth button to turn on Bluetooth on your device.
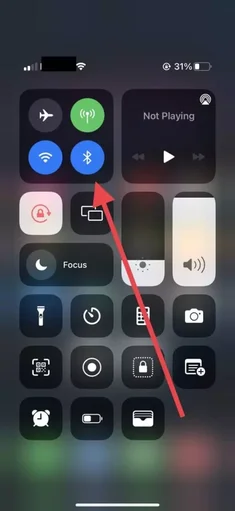
- Then bring the AirPods in the case to your smartphone and open the case, you will be notified that the earphones are connected to your smartphone.
- Then you need to go to Settings.
- Here select Bluetooth.
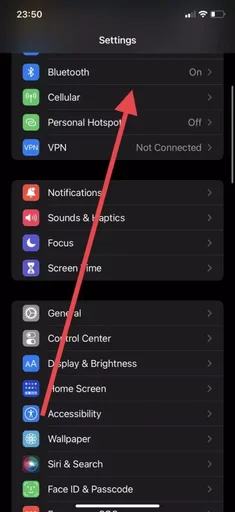
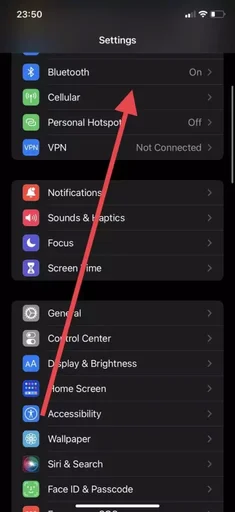
- Then you have to find your AirPods in the list of devices and press the “I” button in the right corner.
- This will open the information about your earphones and here in the line Version you can find your firmware number.
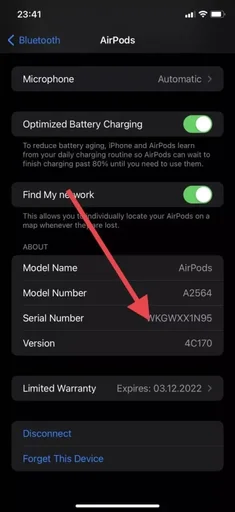
Using these simple steps you can quickly check the current firmware version of your earphones. You can check online for the current version of AirPods firmware and compare it with the version you see on your iPhone. You will need just a few seconds to do this.
How to update AirPods firmware
If after checking whether your firmware in AirPods is up to date, you find that the software is out of date, you may be wondering how you can update the firmware of your device.
In fact, it’s so easy that you don’t even have to do anything. Since AirPods firmware updates automatically after you connect to your Apple device with internet access enabled.
In order for your device to update accurately you need to:
- Charge the case of your AirPods and place the earphones inside.
- Then open the case and make sure it’s connected to your iPhone.
- Then place your iPhone on a charger and turn on its LTE or Wi-Fi data connection.
- You should also check to see if the firmware on your Apple device is up to date.
After that, you can leave your devices alone for a while. The update usually takes literally 20-30 minutes.
These simple tips will help you to check your firmware and always update your devices in time to have access to all the new features.



After updating macOS, my AirPods Pro stopped connecting to my macbook. It connects fine to other devices. I overloaded the macbook and «forgot» the headphones on the MacBook . Can you tell me what else can be done to fix it?