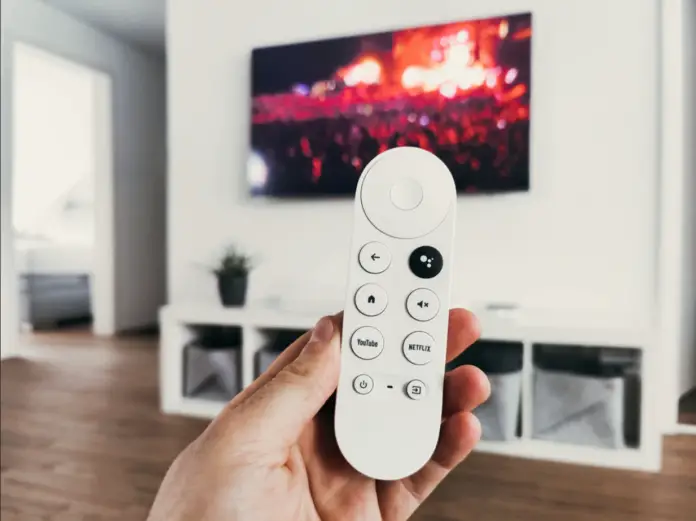
When UHD and 4K TVs were introduced, network media players became popular. Their main difference from analog devices is high detail and excellent picture quality. Google Chromecast is one of these devices.
Chromecast is one of the best content streaming devices on the market. This streaming device gives users easy access to numerous online streaming services such as Netflix, Hulu, Youtube, and Google Play.
Setting up your Chromecast media player wirelessly is easy. When you connect to the Internet, the device will automatically download a new version of the firmware and install the add-on. Once setup is complete, you will be able to watch online broadcasts of their favorite shows on a TV, smartphone, or computer monitor.
In this article, we are going to explain to you how to connect your Chromecast to your WiFi network.
Therefore, before you do that, you’ll need to make sure your streaming device has been properly set up and connected to the TV.
How to set up Chromecast
If you want to set up your Chromecast streaming device, you have to follow these steps:
- First of all, plug in the Chromecast streaming device into your TV’s HDMI port and then connect the USB power cord to your Chromecast. You can plug the USB cable into the included adapter and then plug it into a power outlet. Or simply use one of the USB ports on the back of the TV. If the USB port on the back of the TV does not provide enough power for the Chromecast, it is better to plug it into a wall outlet.
- After that, download the Google Home App. The app is available for iOS and Android devices on both the Apple App Store and Google Play Store. If you’re using Chromecast on your laptop or desktop, you don’t need to download the app. Instead, all you have to do is install the Google Chrome web browser and you’re done.
- Meanwhile, turn on the TV and select the appropriate input. Chromecast will turn on and you’ll know it’s ready when the setup prompt appears on the TV screen.
- The TV prompts you to set up the new device. You will see the code displayed on your phone or computer and on your TV screen.
- Select YES, if they match.
Once you’ve completed these steps, Chromecast has now been paired with your TV.
How to connect Chromecast to WiFi network
The next step is to set up your device to connect to the Internet. This allows you to stream any content from your phone or computer to the TV. If you want to connect your Chromecast streaming device to a WiFi network, you have to follow these steps:
- First of all, open the Google Home App and select “Add Device”;
- Then, add the Chromecast streaming device to the app;
- Go to “Settings” and tap your Chromecast streaming device;
- Select the WiFi option from the list of available wireless networks;
- Choose the WiFi network you want to connect your device with;
- Finally, enter the password and connect.
Once you’ve connected your device to Wi-Fi, you can stream movies, watch and play video games, and stream all sorts of content to your TV.
You should also be aware that purchasing a Google Chromecast set-top box does not give the user access to streaming platforms. You need to sign in to the streaming service with your own account. Some resources provide some content for free, while others immediately ask for a paid subscription. But it is not included in the price of Chromecast.
How to connect Chromecast without WiFi
If you don’t have a WiFi connection, you can create a local network and use it to connect to other devices. You can use your Android smartphone or tablet as a mobile hotspot. Then, if there is no Wi-Fi connection, your device will still establish a connection.


